
The Complete Guide to Mobile Photo Editing on Android: Best Apps and Practical Tutorials 2026

Mobile photography has become the primary way most people record their lives. But taking a good photo is only the first step — post-processing is what transforms a photo from "decent" to "stunning." The Android photo editing app ecosystem in 2026 is rich and mature, covering everything from professional RAW processing to one-tap filter enhancement. This article recommends the 5 best Android photo editing apps and provides practical workflows and techniques to help you achieve professional-grade results with your phone.
1. Preparation Before Editing
Shooting Stage Tips
Editing is not a magic fix — a good original photo is half the battle. Pay attention to the following when shooting:
- Accurate Exposure: Use ETTR (Expose to the Right) — maximize exposure without clipping highlights to preserve more shadow detail
- Shoot RAW: If your phone supports it, shoot in RAW (DNG) format for far more post-processing headroom than JPEG
- Keep Steady: Use a tripod or stabilize against an object to avoid blur
- Compose with Room to Crop: Leave space for cropping during post-processing
Basic Editing Principles
- Set the Tone First, Then Fine-Tune: Determine the overall color style first, then adjust local details
- Moderation is Key: Editing enhances, not transforms. Overdone HDR and saturation make photos look unnatural
- Compare Frequently: Toggle between original and edited versions frequently to avoid drifting too far
2. The 5 Best Android Photo Editing Apps
1. Lightroom Mobile — The Professional Choice
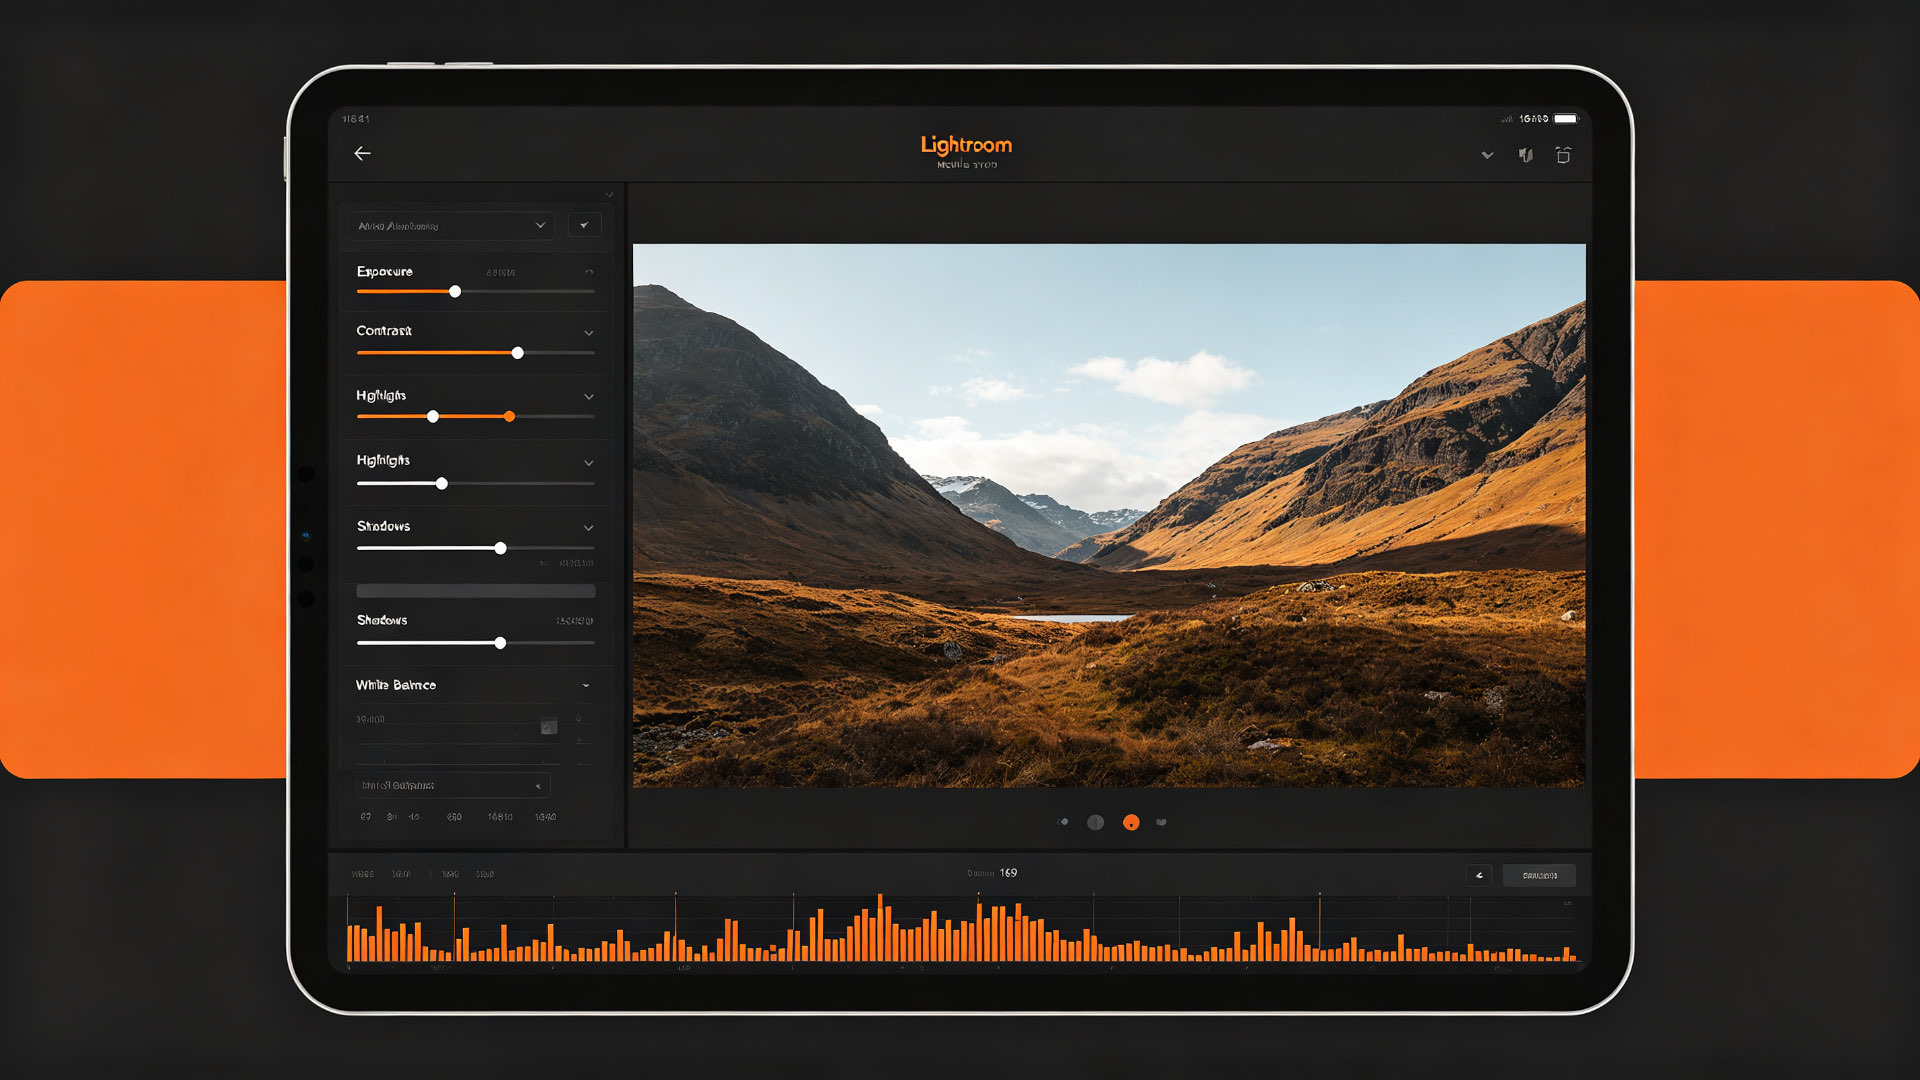
Adobe Lightroom Mobile is the most professional photo editing app on mobile, bar none. It shares presets and syncs with the desktop version, supports RAW editing, and is the standard mobile tool for photographers.
Core Features
- RAW Editing: Full DNG/RAW format support with white balance, exposure, tone curves, and all parameters adjustable
- Selective Editing: Radial filter, linear gradient, and brush tools for precise local adjustments
- Color Grading: Separate color grading for shadows, midtones, and highlights for cinematic color
- Preset Sync: Create your own presets and apply them to multiple photos with one tap
- Cloud Sync: Paid version syncs photos and edits in real-time with desktop
Best For
Professional photographers, photography enthusiasts, and users who need batch photo processing. The free version has enough features for daily use; the premium version (around $35/month) unlocks cloud sync and selective editing.
2. Snapseed — The Free All-Rounder
Snapseed is Google's photo editing app, completely free and powerful. Its "Tools" mode offers 29 editing tools covering everything from basic adjustments to creative effects.
Core Features
- Tune Image: Brightness, contrast, saturation, ambiance, highlights, shadows, warmth
- Curves: Independent RGB curve adjustment for professional color grading
- Local Adjustment: Tap-based local adjustment for precise control of brightness, contrast, saturation
- Perspective Correction: Automatically correct perspective distortion in architectural photography
- Double Exposure: Overlay two photos for creative effects
- Mask Function: All tools support masks for precise control of effect areas
Best For
Everyone. Snapseed is the most feature-rich free editing app, with no in-app purchases and no ads — a must-install for any Android phone.
3. VSCO — The King of Film Simulation
VSCO is renowned for its exquisite film simulation filters. Its filters are not simple color overlays but simulations based on real film characteristics, including grain, fading, and split toning details.
Core Features
- Film Filters: Over 200 film presets including Kodak, Fuji, Agfa, and other classic film simulations
- Basic Adjustments: Exposure, contrast, crop, sharpen, grain, fade
- HSL Adjustment: Independently adjust hue, saturation, and luminance of each color
- Community Sharing: Built-in photography community for sharing work and browsing others' work
Best For
Users who love film-style photography, portrait and lifestyle photographers. The free version offers about 10 filters; the membership (around $130/year) unlocks all 200+ filters.
4. Picsart — The Creative Compositing Powerhouse
Picsart is more than a photo editing app — it's a creative platform. It excels in photo compositing, stickers, drawing, and AI generation, making it ideal for creative image editing.
Core Features
- AI Tools: AI background replacement, AI image expansion, AI style transfer
- Sticker Library: Millions of user-shared stickers, searchable and usable
- Brush Tools: Complete drawing tools with layers and blend modes
- Background Removal: One-tap cutout with high edge detection precision
- Templates: Social media posts, posters, covers, and other templates
Best For
Social media creators, design enthusiasts, and users who enjoy creative compositing. The free version has ads and watermarks; the premium version (around $50/month) removes the watermark and unlocks all resources.
5. Photofox — The Multi-Layer Compositing Expert
Photofox (formerly Enlight Photofox) is an app focused on multi-layer photo compositing. It supports unlimited layers, each with independent blend modes and opacity controls — the closest thing to Photoshop on mobile.
Core Features
- Unlimited Layers: Support any number of layers with group management
- Blend Modes: 20+ layer blend modes including Multiply, Screen, Overlay, and more
- Cutout Tools: Smart selection, quick selection, brush-based cutout
- Effects Filters: Including atomic, glitch, bokeh, and other creative effects
- Text Tools: Support curved text, 3D text, and text masks
Best For
Users who need complex photo compositing and designers. The free version has feature limitations; the pro version (around $45 one-time) unlocks all features.
3. Standard Editing Workflow Walkthrough
Using a backlit portrait photo as an example, demonstrate the standard editing workflow in Lightroom Mobile.
Step 1: Basic Adjustments
- Exposure: +0.45 (brighten overall)
- Contrast: +12 (increase image contrast)
- Highlights: -58 (recover sky detail)
- Shadows: +42 (brighten subject shadows)
- Whites: +15 (add highlight层次)
- Blacks: -8 (deepen shadows)
Step 2: Curve Adjustment
In the Curves panel, start with the "Strong Contrast" preset, then fine-tune:
- Slightly lift the highlight region for more transparency
- Slightly press down the shadow region for more weight
- Maintain an S-curve in the midtones
Step 3: Color Adjustment
- White Balance: Temperature 5200K (slightly warm), Tint +5 (slightly magenta)
- Vibrance: +18 (gentle color boost)
- Saturation: +8 (overall enhancement)
- HSL:
- Red: Saturation +10, Luminance +5 (improve skin tone)
- Orange: Saturation -5, Luminance +10 (more natural skin tone)
- Blue: Saturation +15, Luminance -8 (bluer sky)
Step 4: Effects and Details
- Texture: +10 (enhance skin and clothing texture)
- Clarity: +8 (increase midtone contrast)
- Dehaze: +12 (remove haziness)
- Vignette: Amount -15, Midpoint 50 (guide attention to center)
- Grain: Amount 12, Size 25, Roughness 50 (add film feel)
Step 5: Local Adjustments
Use a radial filter to create a selection on the subject's face:
- Exposure +0.20
- Clarity +5
- Noise Reduction +10
Use a linear gradient on the sky region:
- Exposure -0.30
- Saturation +10
4. Common Scene Editing Techniques
Landscape Photos
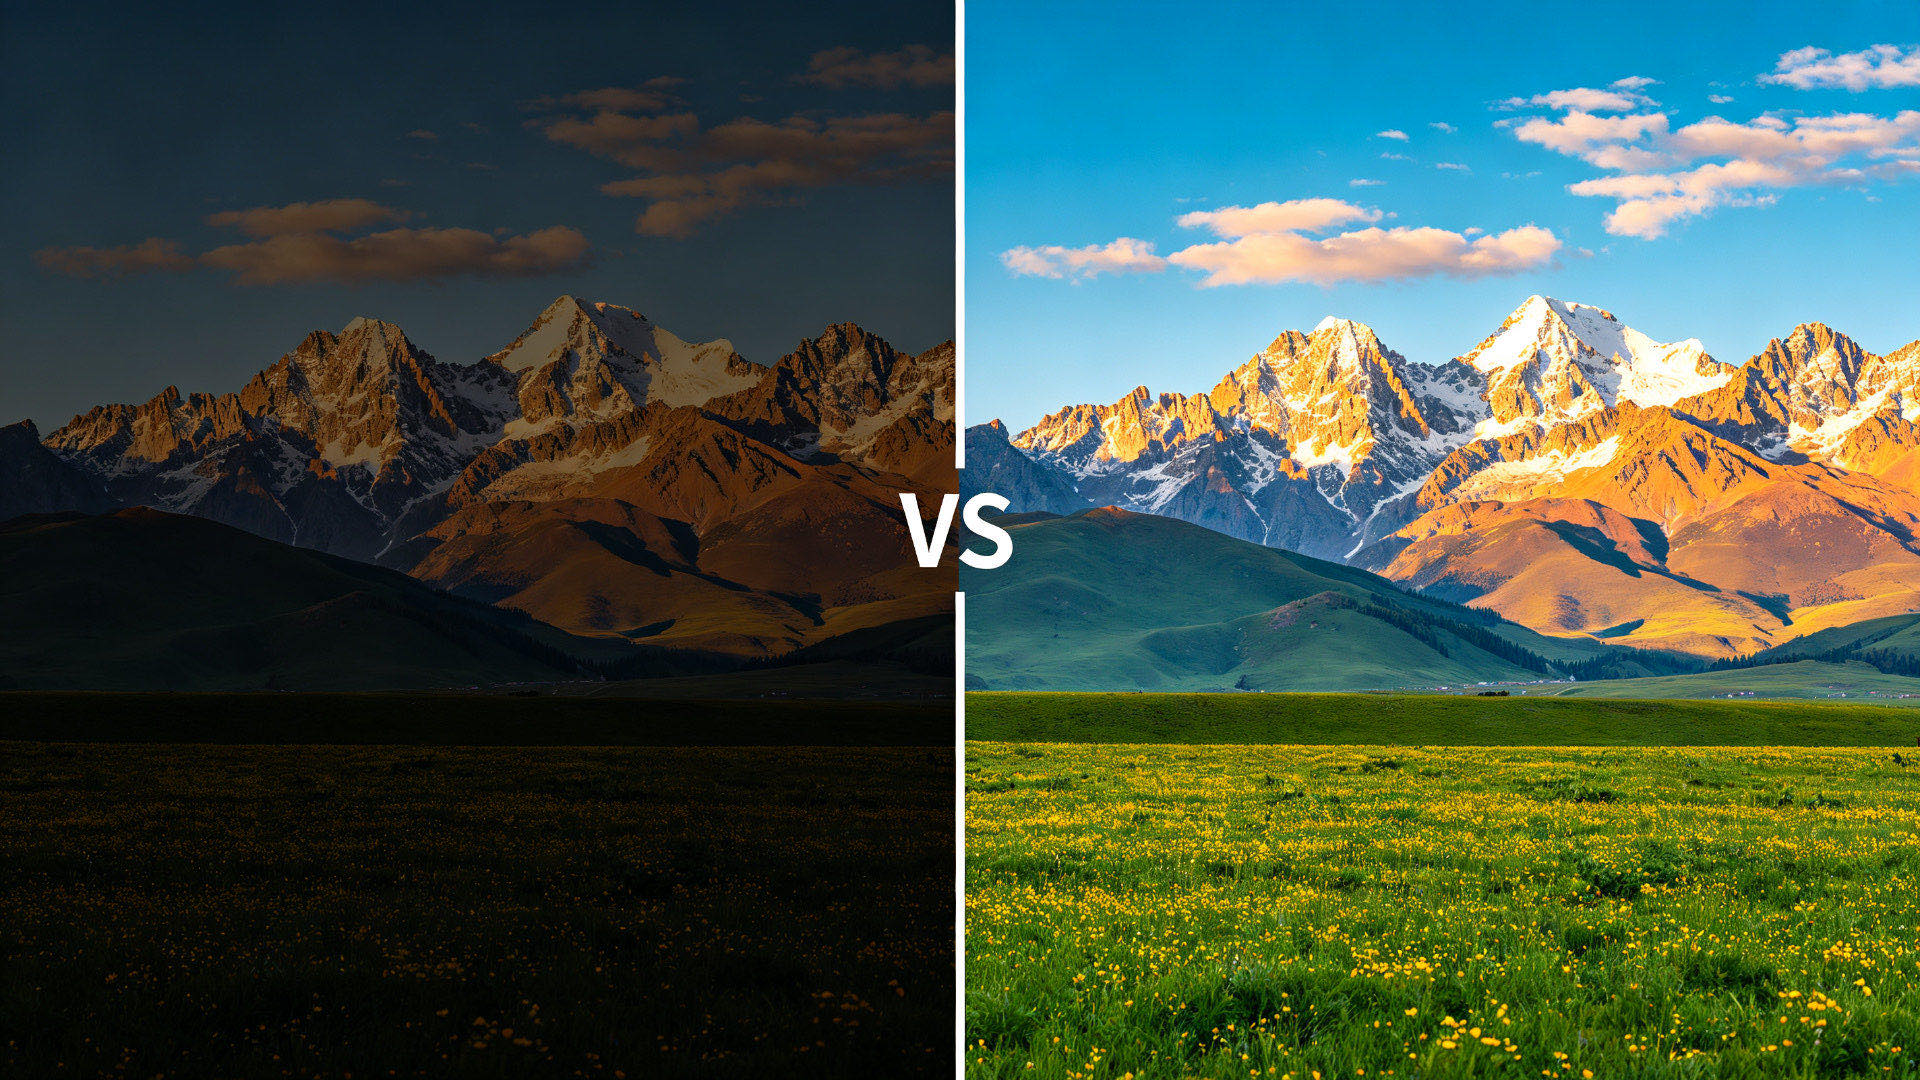
- Increase Dehaze value for more atmospheric clarity
- Boost blue saturation for a purer sky
- Lower green luminance for richer vegetation
- Add appropriate vignette to emphasize the subject
Portrait Photos
- Increase orange (skin tone) luminance, decrease saturation
- Reduce texture and clarity to soften skin
- Increase shadows to brighten the face
- Moderate skin smoothing (simulate with noise reduction)
Food Photos
- Warm tones (increase temperature) to stimulate appetite
- Increase clarity and texture for more appetizing food
- Moderately increase saturation for more inviting colors
- Background blur (simulate with vignette if not in original)
Night Photos
- Reduce highlights to control light clipping
- Increase shadows to recover dark detail
- Increase noise reduction (luminance and color)
- Moderately increase saturation for more vibrant night lights
5. Recommended App Combinations
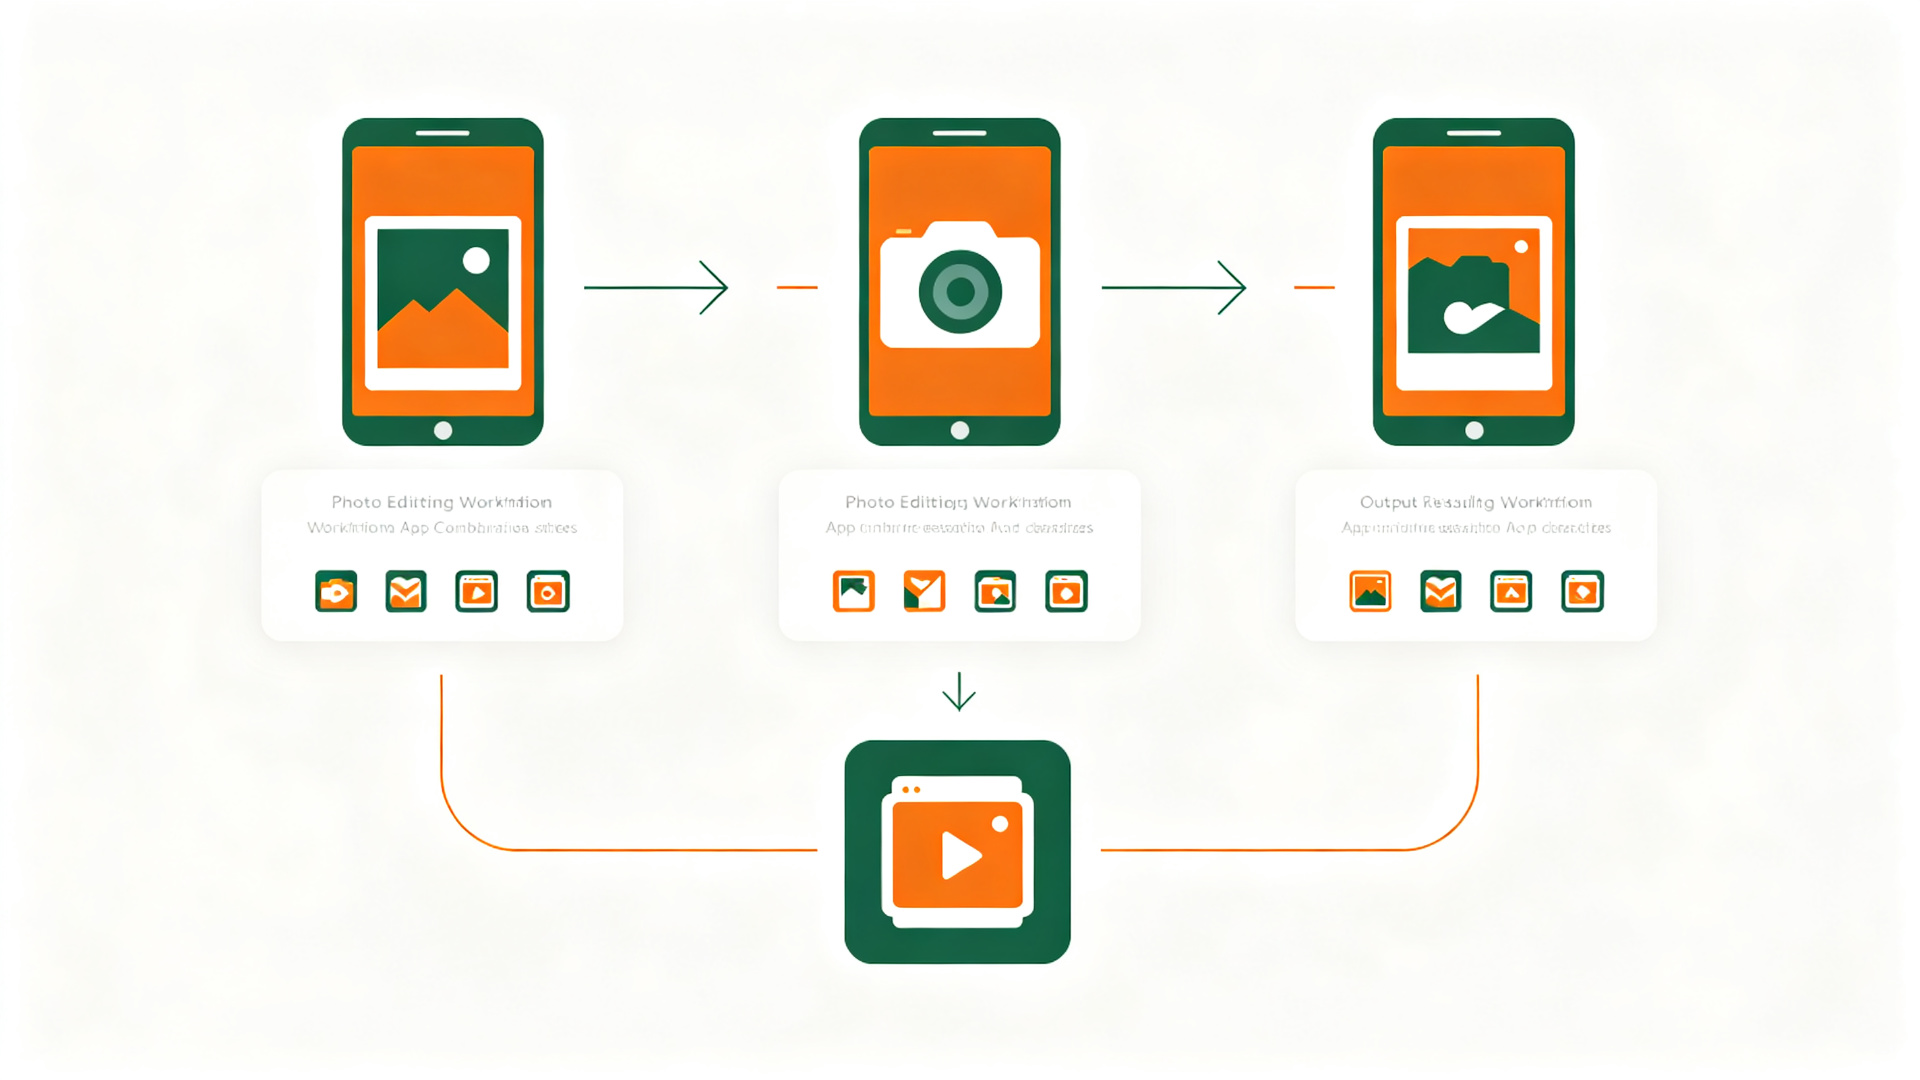
Based on different needs, the following app combinations are recommended:
| Need | Recommended Combo | Explanation |
|---|---|---|
| Professional Editing | Lightroom + Snapseed | LR for overall color grading, Snapseed for local refinement |
| Film Style | VSCO + Lightroom | VSCO for filter base, LR for parameter fine-tuning |
| Creative Compositing | Picsart + Photofox | Picsart for AI and stickers, Photofox for multi-layer compositing |
| Quick Sharing | Snapseed + VSCO | Snapseed for basic adjustments, VSCO for one-tap filters |
| Full Mobile Workflow | Lightroom + Snapseed + VSCO | Covers everything from RAW editing to filter output |
Conclusion
Photo editing is a craft that requires constant practice. The recommended learning path is: first use Snapseed to familiarize yourself with basic parameters, then use Lightroom to deeply understand color grading logic, and finally expand creative boundaries with VSCO or Photofox based on personal style. Remember, the best editing is when no one can tell it's been edited — natural, authentic, and emotionally resonant is the ultimate goal of mobile photography.


.webp?x-oss-process=image/resize,w_80/format,webp)